Guide: How to customize your tablet on Android. Setting up and using an Android tablet
- a responsible, important and interesting event, especially for users doing this for the first time. After reading the information below, it will also become simple and understandable. The first and basic setting of tablet computers running iOS and Android has practically no differences: it all starts with turning on, choosing a language, specifying Touch ID / data for authorization in Google services, setting up an Internet connection, etc.
In the case of Windows gadgets, the situation is somewhat different: Microsoft, for some reason, regards the tablet as the same laptop, only without a keyboard and with a touch screen, so a tablet computer running this operating system is usually immediately ready for use and in special configuration, except for specifying some user data, does not need.
As an example, it is proposed to consider the procedure for the initial setup of a tablet running the Android operating system.
Instructions for setting up an android tablet
Turn on the tablet by pressing the corresponding button on the case. Usually the batteries have some charge, so the device should turn on. Otherwise, connect first charger... The tablet will greet you and prompt you to select a language.The next step is linking your Google account. If you wish, you can do this later, but it is better not to postpone it so as not to waste time in the future. The binding will allow you to use the app store and other useful functions without restrictions.
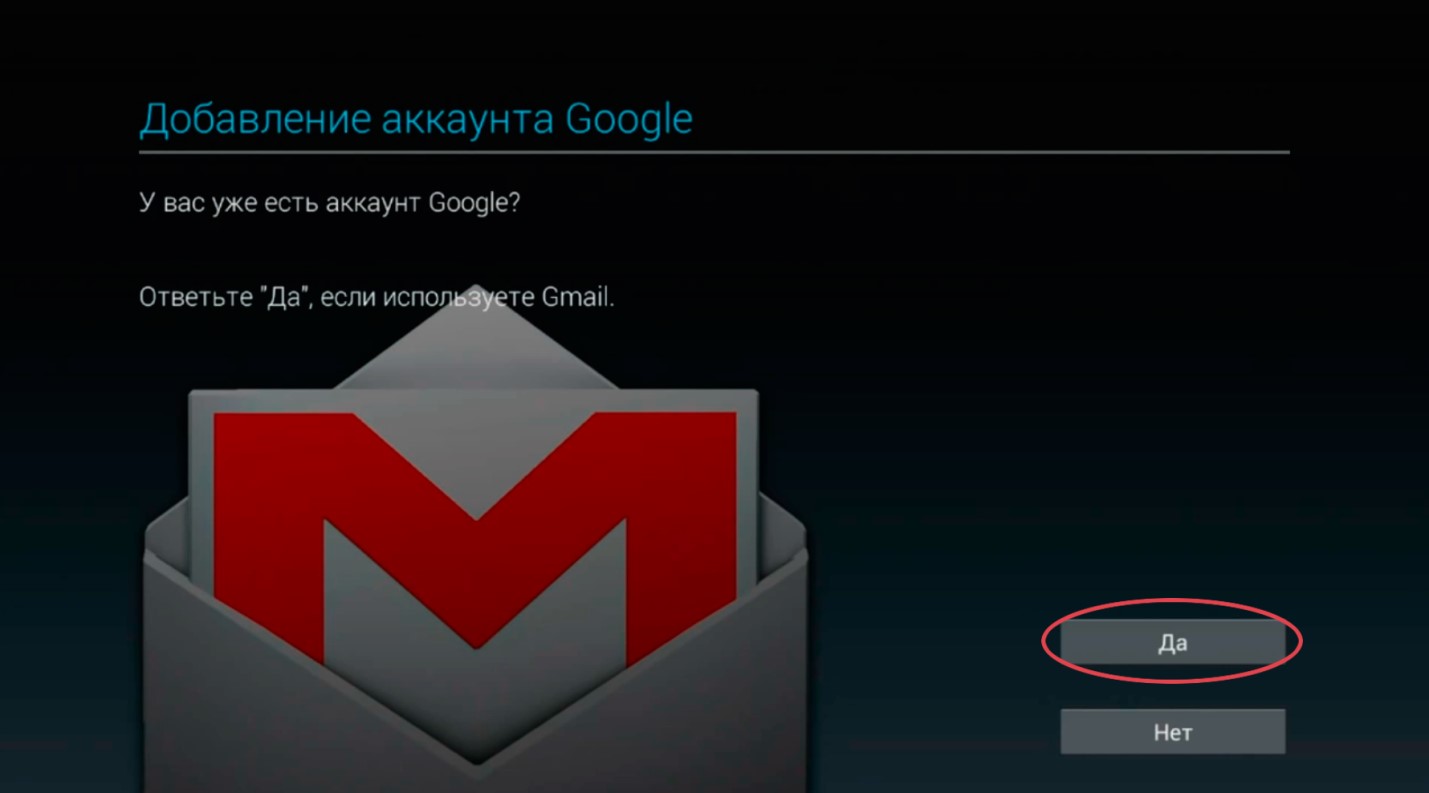
The system offers 2 answer options:
select "Yes" if we already have a Google account, and enter the relevant data into the submitted form;
select "No" if there is no account, and register mail, following the prompts provided by the system.
After logging in, Android will ask a few questions. First of all, we confirm our consent to the backup procedure - this will be a guarantee of the safety of our user data and will make it possible to freely restore them in case of loss.
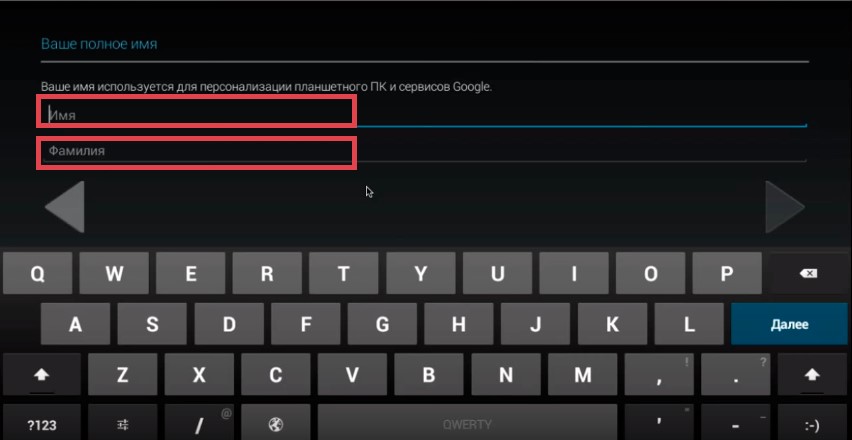
We will also be asked to indicate our last name and first name. The information entered will be used by the system, for example, when composing a signature for e-mails.
Important note! Setting procedure and appearance components may vary slightly depending on the version of the operating system and the launcher of a particular manufacturer, but the basic principles remain the same.
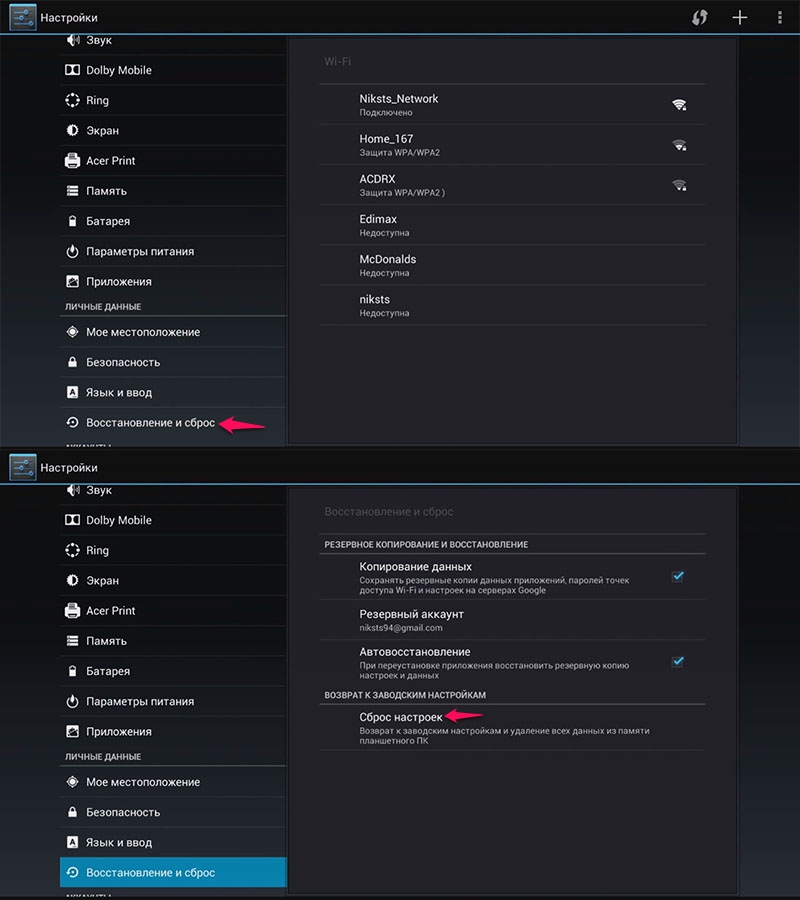
For settings Wi-Fi connections open the corresponding section of the menu.
In the same Settings section, you can set the required parameters of other system functions, for example, change the time and date, etc.
To download the necessary games and applications, open Play Market... The order of interaction with the app store is shown in the following screenshot.
In the case of tablets on iOS and Windows order the action remains the same. The only changes are the names of the markets: App Store for Apple tablets and Store for Windows tablets.
Now that you know how to do the basic setup of your Android tablet after the first start, the small personal settings are yours.
Not much time has passed since they entered our everyday life. Just a couple of years ago, few people heard about them, but today the demand for these gadgets is growing every day. And it deservedly works under operating system Android compact device combines the capabilities of a personal computer and a mobile phone. And to get the most out of its use, setting up an Android tablet for the specific needs of its owner will help.
First of all, the tablet is designed for surfing the global network. Thanks to touch screen, and the ability to control gestures, web browsing happens differently than on a computer: the effect of a site "in the palm of your hand" is created. In addition, a smart gadget can replace mobile phone, organizer, book reader, audio and video player, camera, allows you to download a lot of programs for work and entertainment from, and much more.
Setting up the tablet
The customization capabilities of a tablet equipped with Android OS allow you to make it truly personal. Let's consider the main features using an example Samsung Galaxy Tab.
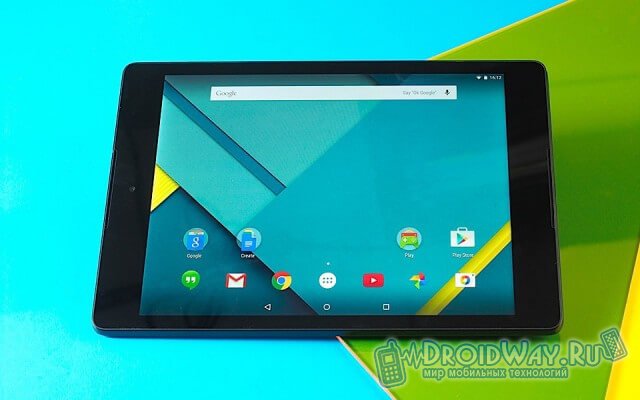
Taking a brand new tablet in hand, the first thing you see is the Lock Screen. By sliding the lock with your finger, you "wake up" the device and see the main screen of the work area. In Android OS version 4, the context keys are located at the bottom of the screen, access to the main menu is at the top. The main options for managing the system are available from the main menu.
The "Personal data" section allows you to synchronize your gadget with cloud services and manage accounts on Google services and beyond. If you don't have a Google account, you will be prompted to create one. This should be done at least in order to be able to download applications from the android market. If desired, in the "Personal Settings" you can enable the determination of your location or create several user accounts.
The "System" section contains settings for the date, time, accessibility, and other things, and the "Device" section will help you design the appearance of the screen.
Security, lock and unlock
Security options, also available from Privacy, allow you to manage tablet locking and encryption of user data. You can block access in several ways: from scrolling the lock on the screen to entering a pattern and recognizing the owner's face. The unlocking process is usually straightforward, but if you can't log in, the following methods are suggested.
So, how to unlock your Android tablet:
- use the Google password recovery service;
- restore from backup (if any);
- use third-party programs to unlock tablets, for example, HiSuite;
- return to factory settings (Hard Reset).
How to use an Android tablet
Tablets can access the internet from using WiFi and built-in 3G modem (required). If you had to set up a network on a PC, you will not encounter difficulties, the main thing is to know the settings of your operator. Connecting wireless devices is also possible via Bluetooth. To view web pages, the Android OS is equipped with a built-in browser.
For ease of use email - Email and Gmail clients allow you to organize work with several mailboxes at once. The application interface is intuitive and resembles setting up an email client on a PC.
Samsung Tablet Galaxy Tab easy to read and equipped with a program that has access to a huge library. This program, like others, is available from the Applications section of the main menu.
You can replenish the collection of applications (paid and free) in the android market, where there are more than 100,000 of them. To use the service, you need a Google account.
Tablet firmware
If the gadget does not work stably or you have a task (especially it concerns how to flash an Android tablet to improve its functionality, as well as to close system vulnerabilities, you will need to flash the device. There are official firmware released by the Android OS vendor, and unofficial (custom ).
Unofficial firmware is used to gain privileges that allow software to regulate the operation of hardware, increase performance, expand the capabilities of the system, and use applications that are not available in the regular version of the OS.
If the official firmware is released with the aim of making the use of the tablet more secure and stable, then the unofficial ones promise a lot, but they do not guarantee anything. By installing the firmware of an unknown manufacturer at your own peril and risk, the owner runs the risk of irreparably spoiling the expensive device.
Any electronic novelty purchased for home or professional use requires familiarization with the rules of operation, the initial correct settings to optimize work. In this article, we will reveal all the main steps for properly setting up Android tablets purchased for Internet access, entertainment and comfortable work with the device.
Initial actions
After new tablet delivered from the store and unpacked, you should read the instructions for use and settings - without this, you can harm the new device in advance, which will require its repair or worsen the consumer properties of the electronic novelty. Usually the sales kit, in addition to the tablet itself, includes:
- charger;
- connecting USB - a cord that is used to connect the charger to the tablet and to connect it to external devices;
- adapter cable with uSB connectors - microUSB;
- acoustic headset (headphones);
- instruction manual with a warranty card.
Fully charge before using battery gadget.
Presettings
Most models of modern tablets have two or three physical buttons on one of the ends of the case. The first (smaller) is used to turn the gadget on / off, and the second two (or a single rocker button) are used to increase / decrease the volume of the built-in acoustics. The device is turned on by pressing and holding the first button for several seconds. The inclusion of the tablet will be indicated by the splash screen that appears - usually a green android-man, supplemented with information labels about the model or brand.
Initially, you need to configure the language settings, date and time, and check the connection to Wi-Fi networks. All these parameters are included in separate sections in the menu, "Settings", which are called by pressing the corresponding touch button located in the lower left part of the display matrix, outside its working area. As a rule, the language is already configured, since the manufacturer presets the language parameters depending on the country to which the batch of gadgets is supplied.
There is nothing difficult about setting the date and time. However, there is one caveat to this setting. Due to the cancellation in Russia of the transition from summer to winter time and vice versa, some models independently carry out this transition on October 1 and March 1. Therefore, when setting the time, you must put a check mark (tick) in the items "Network date and time" and "Network time zone". The time parameters can be seen on the screen immediately after setting them.
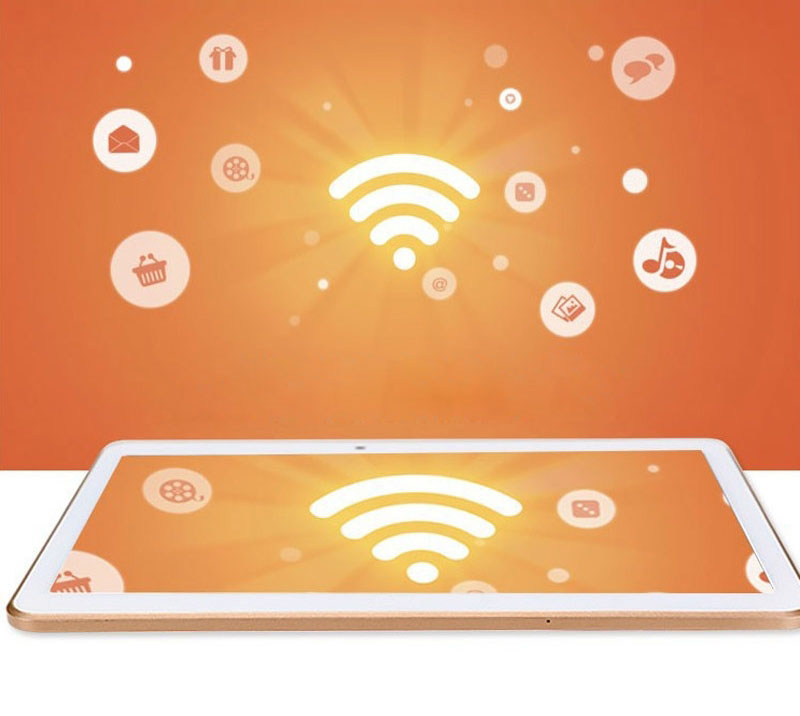
The ability to work on Wi-Fi - networks are available for most modern tablet computers, so at the next stage of preliminary settings of the tablet with Android, you need to make this connection. To perform this procedure, you need to go to the "Wireless networks" section and in it move the touch lever to the "ON" position. Finding the corresponding Wi-Fi will be indicated by the corresponding icon that appears in the upper field of the on-screen matrix. To connect to an available network resource you must enter a password. When correct connection, icon wireless networks will change its color to blue.
In order to set up a tablet with Android to work in GSM - networks, you need to create your account. Since the Android platform is developed and maintained with the IT consortium Google Inc, it is advisable to create a personal account in this system, while the e-mail address will look like "[email protected]". If the tablet is intended for collective use, then it is advisable to create several accounts for two or more users, which will protect the confidentiality of personal information. Without this procedure, the following possibilities will be further limited:
- using e-mail
- full use of GooglePlay content store services;
- navigation using the GoogleMap service;
- access to many Internet services and network resources.
Custom settings
All mobile gadgets come pre-installed with software... Most of them are related to various Google services. However, some manufacturers "stuff" all sorts of gadgets, at first glance, unnecessary applications... An inexperienced user should know that it will not be possible to delete them at first. This requires root rights, which requires specific knowledge. However, you can turn off unnecessary program content. To do this, go to the "Applications" section of the menu, find the program of interest and in its window press the touch button to disable. If your device "swears" and informs about the impossibility of pausing the application, then it is systemic and it is better not to touch it.
When installing new applications, downloading by default is available only from the GooglePlay resource. The Android operating system blocks the installation of third-party applications. To obtain full-featured access, you need to find the "Security" section in the "Settings" section and tick the "Unknown sources" item in it.
The package includes a USB cable for connecting to a PC. Thanks to it, the tablet can be connected and synchronized with personal computer or laptop. Before connecting the cable, in the "For Developers" menu, select the "USB Debugging" item and mark it with a tick. Typically, when connected to a computer, the tablet screen prompts for use cases. Here you need to select one of the items (the style may differ):
- Enable USB storage - the tablet is perceived by the computer as an external flash drive;
- "Use as a charger" - the tablet battery is charged from the computer system unit.
Thanks to the first mode, the user is able to download any files from his personal computer.
It is not uncommon for the initial use tablet computer ends with its "braking" or frequent freezing. This usually happens when installing unverified applications or when infected with viruses. The answer to the question - "... what to do in this situation?" - simple enough - you need to return to the factory settings. To perform this procedure in the " Settings"Go to the section" Recovery and reset", And in it we press the touch panel" Reset". After the appearance of the inscription: “ are you sure", You must confirm your actions, after which the tablet will independently carry out all the necessary" rollback "operations and return to the state in which the user purchased it in the store. At the same time, all account data, user passwords and settings, installed applications will be destroyed.
Conclusion
Tablets with the Android operating platform are designed for a simple user and in order to harm them, you need to make a lot of effort. Therefore, when setting up a tablet for Android, the user may not be afraid, but master the user's skills by trial and error. He will be able to restore the factory settings at any time using the "rollback" system.
How to start setting up a tablet under the Android operating system
When you first start the operating system - with a welcome "Welcome!" - immediately prompts you to choose from the lists the country in which you are located and the language. Next, she will offer you wi-Fi networks, from which, again, you must select the desired one and, if necessary, enter the password. The next step is to bind the device to google account... If you don't have it, it doesn't matter, you can create it right in the process of setting up the tablet, and if you have it, just enter your username and password, after that you can use google services... When an account is created (or linked), you can activate data synchronization and backup with it. Then the system will be able to transfer data from the account to the tablet, or vice versa - create a backup copy of the data from the tablet there, or both, depending on which items you tick. After that, the system will prompt you to configure the date and time, define the time zone, and then configure the use of geodata. Thanks to this, applications will be able to determine your location, even if the GPS system is unavailable for some reason.
So, the initial setup is complete. You can stop at this, using the default settings in the future, but you want not only to know, but also to feel at home on your tablet, right? To do this, you will need to fine-tune your Android tablet.
Tablet customization taking into account individual user requests
By clicking the "Settings" icon on the screen, we get to the corresponding menu. There are a lot of points in it, so let's pay attention to the most important ones.
Let's start with the "Network" section. If your traffic is not unlimited, the "Data usage" item will be very useful to you, where you can set the data reset point to zero and set the traffic cutoff line. Here you can set up data transmission using Bluetooth, select the mobile network mode.
We pass to the "Devices" section. In the "Display" item, you can, in particular, adjust the time the screen turns off when inactive.
A very important point is "Energy saving" (let's not forget that the tablet is powered not from the network, and no one wants it to turn off at the most inopportune moment). Whether to check the boxes here in all the available items or only in some depends on how you use the device. So, if you do not run games that require high energy consumption on it, it is quite possible to save energy "in full".
It is worth paying attention to the "Accounts", where you can add your accounts in social networks, cloud services, including (more precisely, leaving it on by default) data synchronization.
Of course, this is not all. You can choose between screen brightness and sound volume, and many other parameters. By understanding the Android settings, you can make using your tablet as convenient as possible.
When purchasing a new gadget, when you first turn it on from users who have not previously had experience with a mobile operating system android system, the question may arise how to set up a tablet in order to start working with it.
After starting the tablet with a long press of the power button, which at the first start may require pre-charging the battery, a welcome menu will open in front of the user with a proposal to select the language and country from the list.
Having marked the necessary item, you will need to press the confirmation key to continue the setting.
Network connection
The next step, the device on Android will offer to connect to one of the Wi-Fi networks available to the user.
If you are using a tablet on Andoid for the first time, you can use your Gmail login and password, which will allow you to bind all services and applications on the device to your own mail.
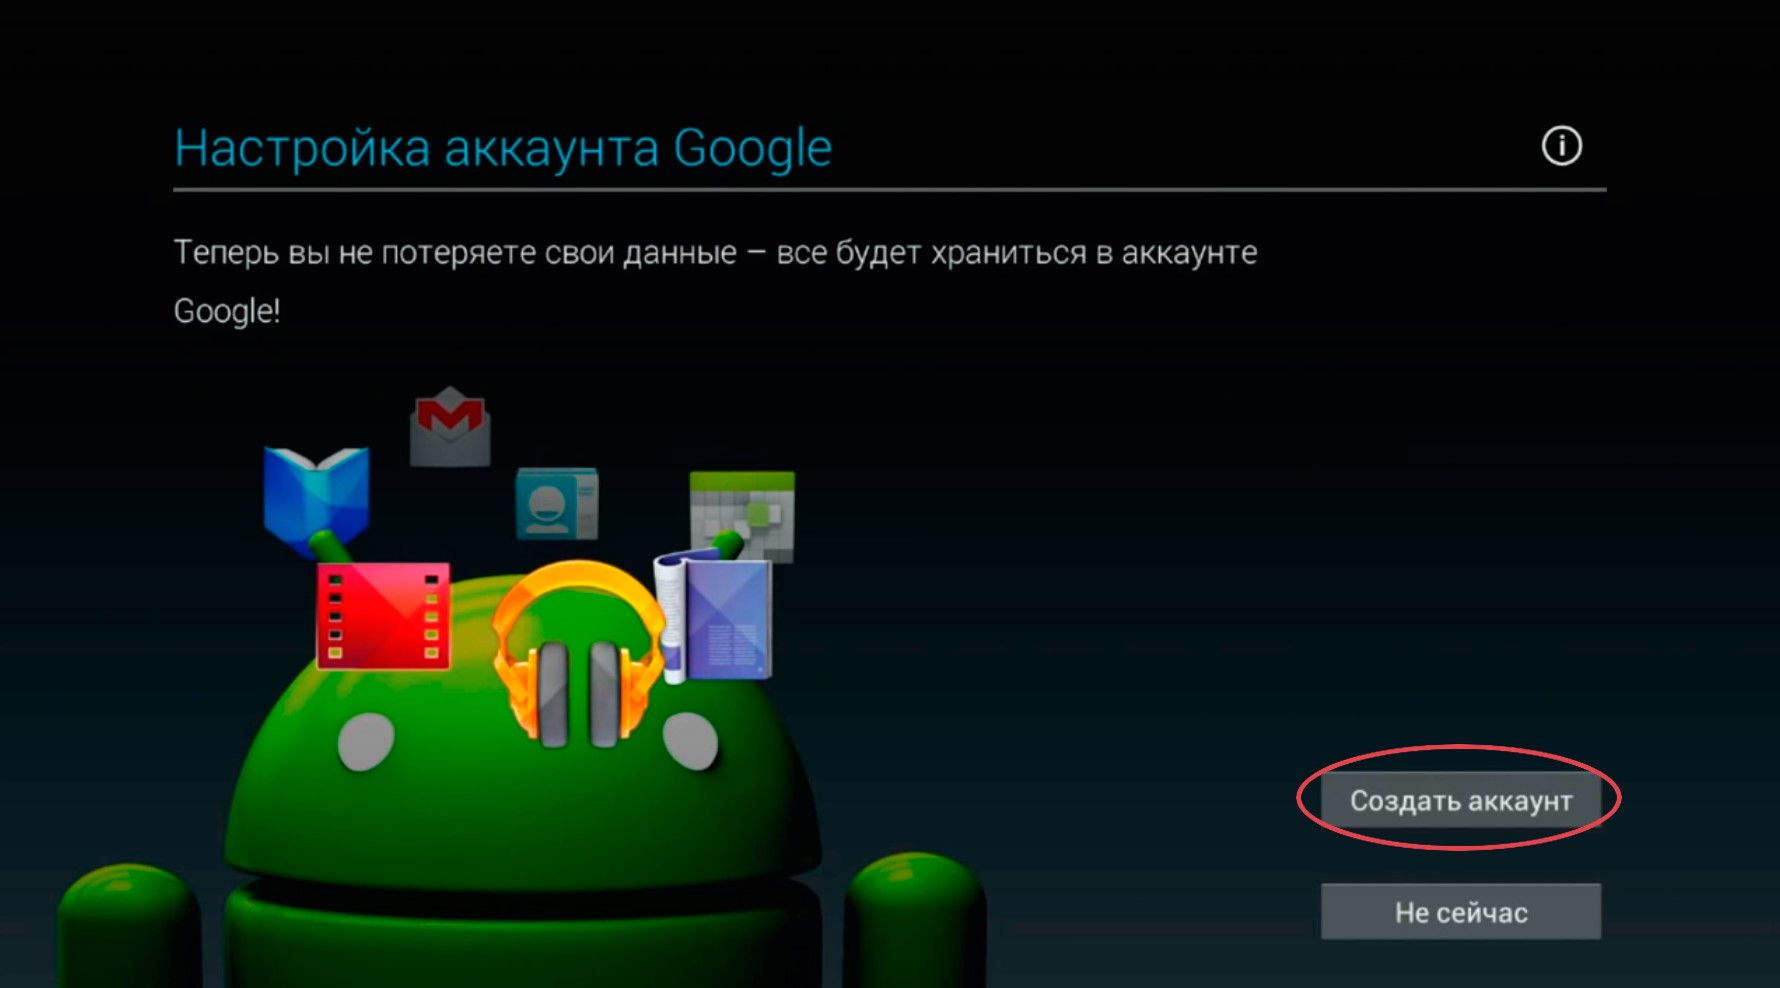
In the absence of Gmail mail, you will need to register by clicking on the button to create a new account. Choosing the "Not now" item, you can postpone this process until the essentials, for example, when downloading applications from the Play Market.
Registration process
- By clicking on the "Create an account" button, the user will be directed to a page where it will be necessary to fill in the first and last name fields.
- Next, you will need to select a username, or rather, an e-mail address that acts in his role. If the entered nickname is already taken, the system will offer similar free options.

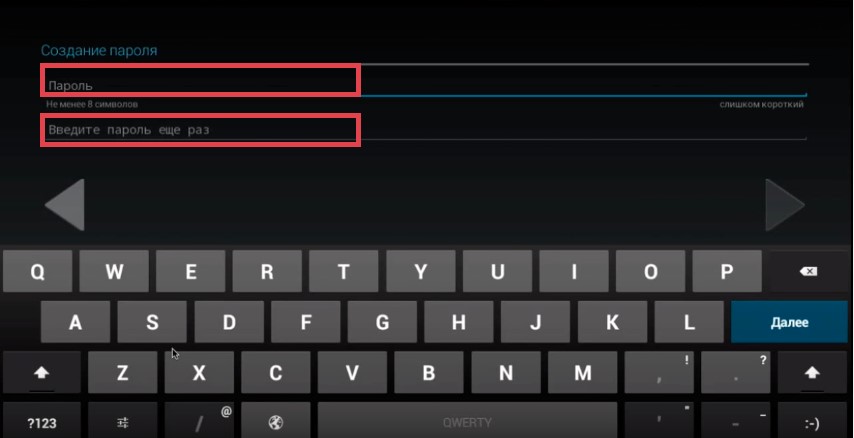
- In the next window, you need to create a user password and re-enter it for confirmation.
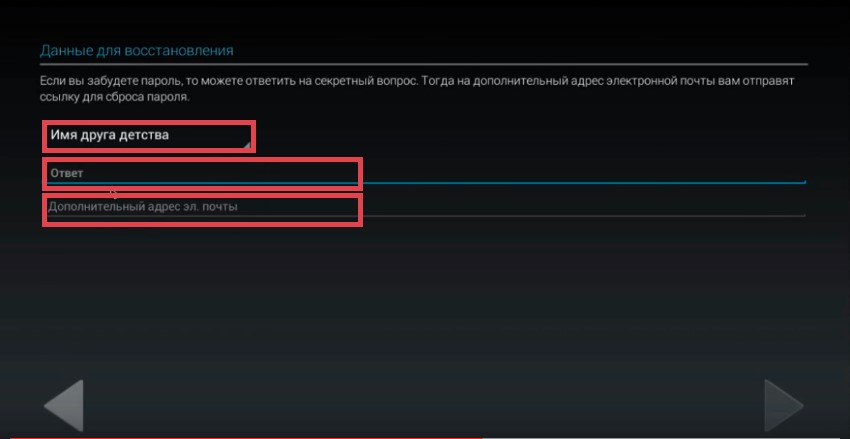
- Now you need to fill in the data to restore your account in case of hacking or losing your password. You must select a security question from the list provided or compile it personally and enter the answer to it in the next field.
You can also add an additional email address for easier recovery.
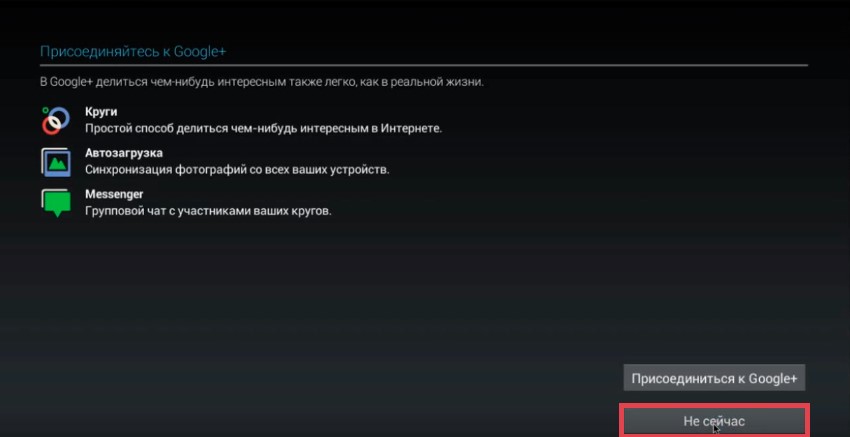
- In the next window, the user will be asked to join Google +. If participation in social network is not planned, you can skip this step by clicking the "Not now" button.
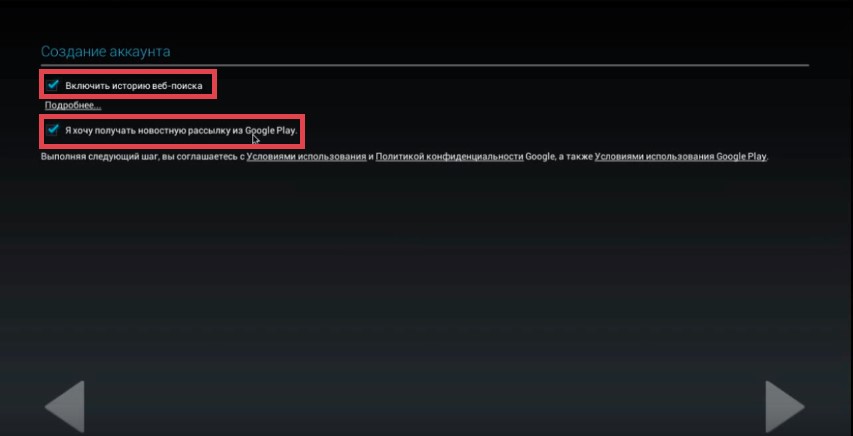
- If you want to subscribe to the Google newsletter and use the web search history, which allows you to get a list of all previously opened addresses, the user can check the appropriate boxes.
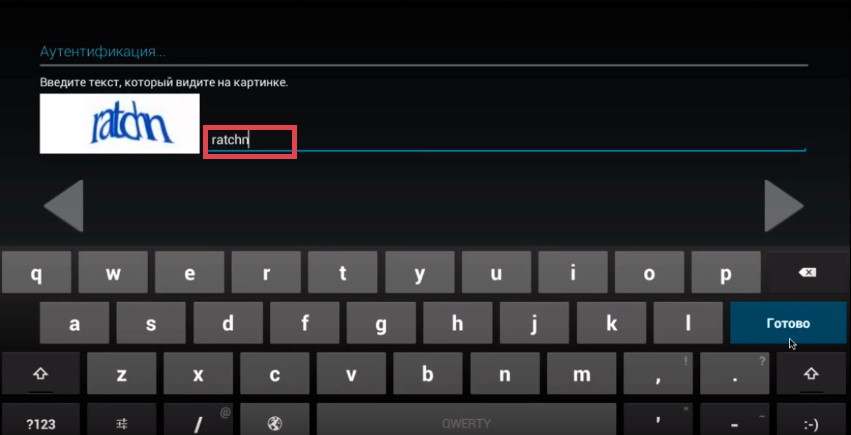
- At the next stage, you will need to enter the verification code from the picture.
- In the final window, the tablet with the operating system from Google will offer to perform a data backup. After that, account registration will be completed.
